There’s a special feeling that comes with the first bite of a snow cone. The cool crunch of crushed ice, coated in colorful, sweet syrup—it’s a treat that has the power to bring back fond memories of summer days. But what if you could make that feeling a reality in your own kitchen? Making your own snow cone syrup at home is easier than you might think, and it allows you to create delicious, personalized flavors that will make your snow cones stand out.
Whether you’re hosting a backyard BBQ, throwing a summer party, or simply craving a refreshing, homemade treat, learning how to make snow cone syrup at home will be a game-changer. This guide will walk you through the steps, share flavor variations, and even offer some tips on storing and serving your syrup so you can enjoy it all season long. Let’s dive in!
Table of Contents
What You Need to Make Snow Cone Syrup
Before you begin creating your syrup, let’s ensure you have everything you need. From ingredients to equipment, preparation is key to making the perfect homemade snow cone syrup.
Ingredients for the Perfect Snow Cone Syrup
Making snow cone syrup is surprisingly simple. With just a few basic ingredients, you can create a syrup that is just as delicious (if not better) than store-bought versions. Here’s what you’ll need:
| Ingredient | Amount | Description |
|---|---|---|
| Water | 1 cup | Acts as the base for your syrup. |
| Granulated Sugar | 2 cups | The sweetener that gives the syrup its signature taste. |
| Food Coloring (optional) | A few drops | Adds vibrant color for that fun snow cone look. |
| Flavoring (extracts or syrups) | 1 tbsp | Choose your preferred flavoring, such as strawberry, lemon, or raspberry. |
Key Points:
- Sugar: A 2:1 ratio of sugar to water is typically perfect for a sweet syrup, but feel free to adjust it based on your preference for sweetness.
- Flavoring: Fruit extracts, juices, or syrups are your best options for flavor. They give the syrup a rich, natural taste.
- Food Coloring: While optional, food coloring adds that traditional snow cone appeal. Just a few drops are enough to make a big difference.
Essential Equipment for Making Syrup at Home
To get started, you’ll need the following tools:
- Saucepan: A medium-sized saucepan will allow you to heat and dissolve your ingredients properly.
- Stirring Spoon: A spoon or spatula is necessary to stir the mixture as it heats up.
- Measuring Cups and Spoons: Accurate measurements ensure you get the right balance of ingredients.
- Storage Bottles or Jars: Use glass or plastic bottles with tight seals to store your syrup.
- Strainer (optional): If you’re using fresh fruit juice, a strainer can help remove any pulp or seeds.
With these ingredients and tools in hand, you’re ready to make your own delicious syrup!
How to Make Snow Cone Syrup: Step-by-Step
Now that you have your ingredients and equipment, let’s break down the process of making snow cone syrup into simple, easy-to-follow steps. Whether you’re making a small batch or preparing for a party, these steps will ensure that your syrup turns out perfectly every time.
Step 1: Combine the Ingredients
The first step is easy—combine your ingredients to form the base of your syrup.
- In a medium saucepan, add 1 cup of water and 2 cups of granulated sugar.
- If you’re using any flavoring, like fruit extract or syrup, add 1 tablespoon of it to the water and sugar mixture.
- Stir everything together to ensure that the sugar begins dissolving.
Pro Tip: You can adjust the flavor intensity by adding a little more or less flavoring, depending on how strong you want the taste to be.
Step 2: Boil and Stir
Next, heat the mixture to create the syrup.
- Position the saucepan on the stove and turn the heat to medium.
- Stir the mixture non-stop until the sugar has dissolved entirely.
- Once it has dissolved, bring the syrup to a gentle boil. Allow it to simmer for 3-5 minutes. Be sure to stir occasionally to avoid the sugar burning or crystallizing on the bottom of the pan.
Important Note: Keep an eye on the syrup during this phase. Once it starts bubbling, it’s easy to let it boil over.
Step 3: Cool and Store
Now that your syrup is ready, it’s time to cool it down and store it for later use.
- Remove the saucepan from the heat and let the syrup cool for about 10-15 minutes.
- Once it has cooled slightly, pour it into your storage bottles or jars.
- Allow it to reach room temperature before sealing the bottles and placing them in the refrigerator.
Storage Tip: Homemade syrup typically lasts for about two weeks in the fridge. Check that the bottles are properly sealed to safeguard against contamination.
Variations of Snow Cone Syrup: Get Creative with Flavors
Now that you’ve mastered the basic syrup recipe, it’s time to experiment with flavors! One of the best things about making snow cone syrup at home is that you can customize it to your taste. Here are some flavor ideas to inspire your creations:
Classic Fruit Flavors
Fruit-based syrups are always a crowd favorite. Here are a few classic options:
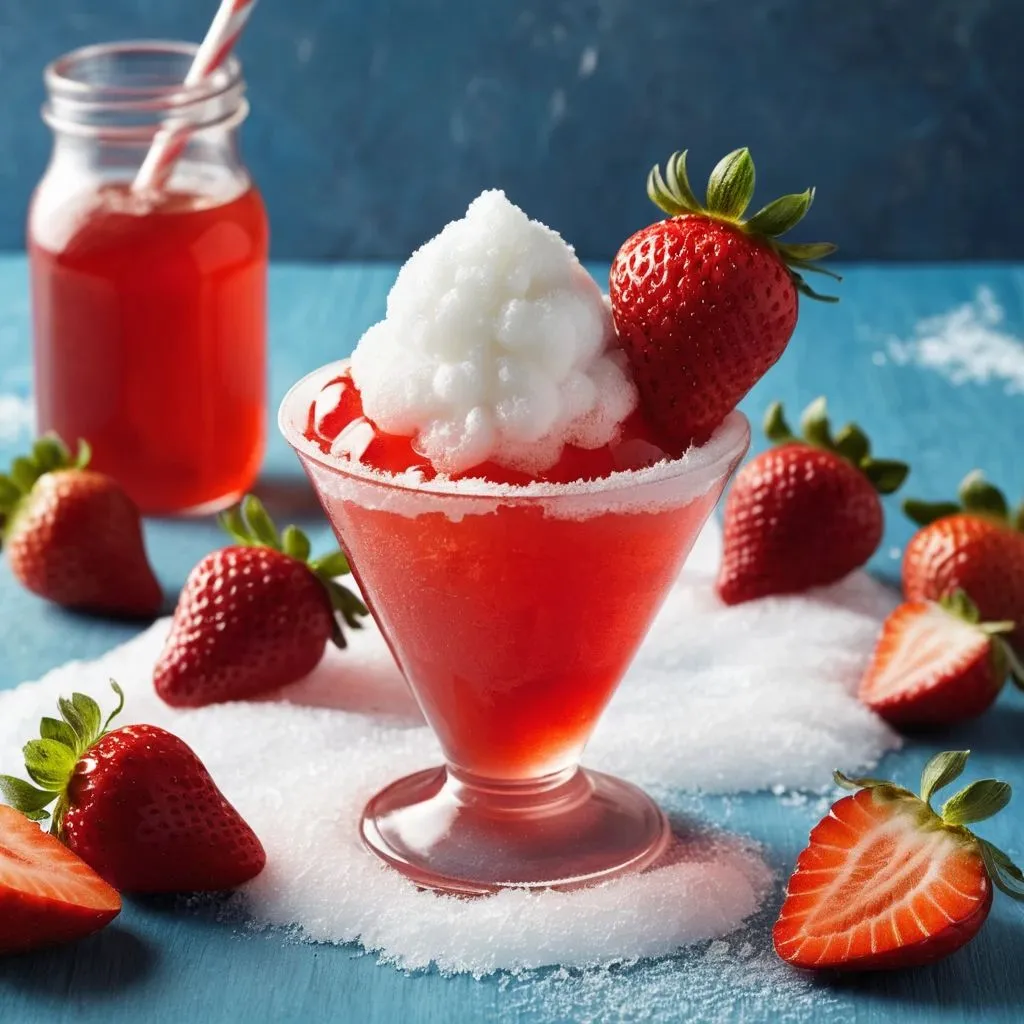
- Strawberry Syrup: Use strawberry extract or fresh strawberries blended into a puree.
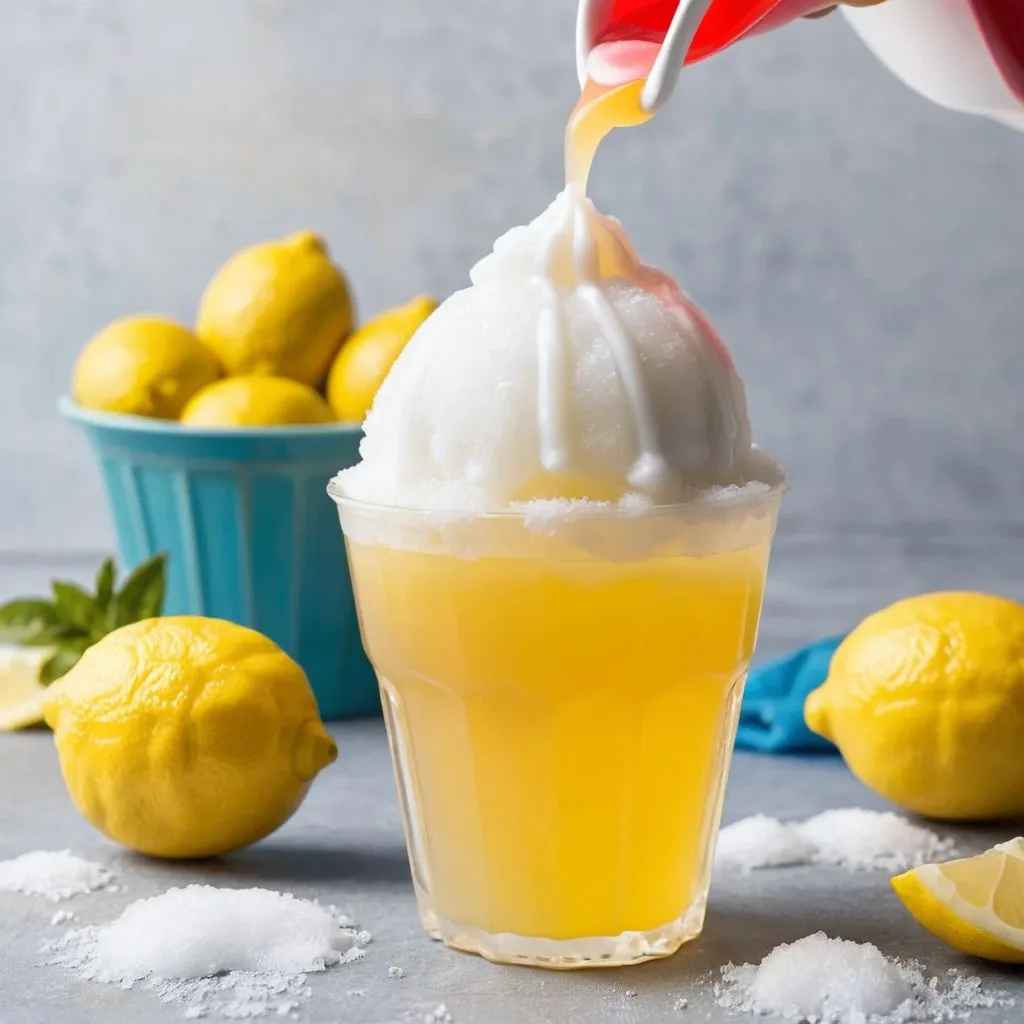
- Lemon Syrup: Fresh lemon juice and zest combine for a refreshing, tangy syrup.
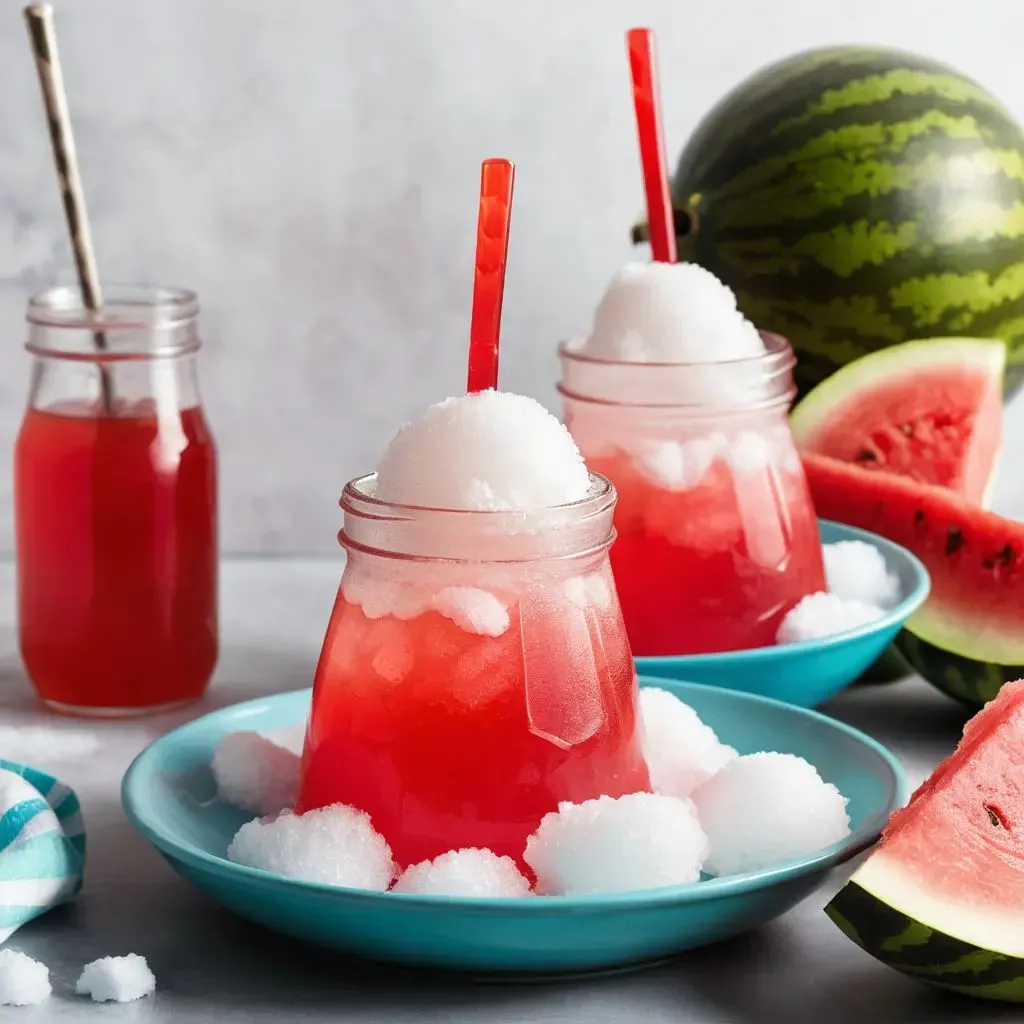
- Watermelon Syrup: Pureed watermelon gives a juicy, refreshing flavor perfect for hot days.


Tropical Combinations
Bring a little bit of paradise to your snow cones with tropical flavors:
- Mango-Pineapple: A tropical twist with a vibrant and sweet taste.
- Coconut-Lime: Sweet coconut paired with zesty lime creates a beachy flavor profile.
- Passion Fruit: Known for its exotic, tangy sweetness, passion fruit syrup is a bold choice.
Unique and Fun Flavors
Want to get more adventurous? Try these fun, unexpected flavors:
- Cotton Candy Syrup: A sugary, pastel-colored syrup reminiscent of the fair.
- Blueberry-Lime: A tangy and sweet combo that’s both refreshing and delicious.
- Cherry Cola: Inspired by your favorite soda, this flavor is fizzy and flavorful.
Snow Cone Syrup Storage Tips
Now that you’ve created your syrup, it’s important to store it properly so it stays fresh and ready to use.
How to Store Homemade Snow Cone Syrup for Maximum Freshness
To make sure your syrup stays fresh and flavorful, follow these simple storage tips:
- Use Airtight Containers: Store your syrup in glass jars or plastic bottles with tight-fitting lids. This will aid in preserving the flavor while preventing contamination.
- Keep it in the Refrigerator: Always store your syrup in the fridge to keep it fresh for up to two weeks.
- Freezing for Longer Storage: If you want to store your syrup for a longer period, you can freeze it in small portions (like ice cube trays). Once the cubes are frozen, place them into a zip-top bag for storage.
Nutritional Facts of Snow Cone Syrup
If you’re curious about the nutritional content of your homemade snow cone syrup, here’s a breakdown of a typical serving (1 tablespoon):
| Nutrient | Amount per Serving (1 tbsp) |
|---|---|
| Calories | 50-60 kcal |
| Total Sugar | 13-15 grams |
| Sodium | 0 mg |
| Carbohydrates | 15 grams |
Note: The nutritional values will vary depending on the ingredients used, such as different sweeteners or natural fruit juices.
Common Snow Cone Syrup FAQs
Let’s address some frequently asked questions about making snow cone syrup:
Q1: Can I make snow cone syrup without food coloring?
Absolutely! Food coloring is optional, and your syrup will still taste amazing without it.
Q2: Can I swap out sugar for honey or other sweeteners?
Yes, you can experiment with other sweeteners like honey, agave, or stevia. Just keep in mind that the syrup’s texture and sweetness might change.
Q3: How long will homemade snow cone syrup last?
Your syrup will last for up to two weeks in the fridge, provided it’s stored properly in
Conclusion: Enjoy Your Perfect Homemade Snow Cone Syrup
Making your own snow cone syrup at home isn’t just a fun and easy project—it’s a chance to create something that tastes just as sweet and refreshing as the store-bought versions, but with the added bonus of customization. From vibrant fruit flavors to tropical combinations and even unique, out-of-the-box concoctions, the possibilities are endless when it comes to crafting your ideal syrup.
Not only does making snow cone syrup allow you to experiment with different flavors and adjust the sweetness to your liking, but it also gives you the freedom to avoid artificial additives and preservatives. Plus, it’s a great way to impress family and friends at summer gatherings, backyard parties, or even just to enjoy a fun, nostalgic treat on a quiet afternoon.
Whether you stick to the classic fruity favorites or venture into the realm of tropical or unique flavors, you can rest assured that homemade syrup will elevate your snow cone game to new heights. And with proper storage techniques, you’ll be able to keep your syrup fresh and ready to use for weeks to come.
So, grab your ingredients, get creative with flavors, and start making your perfect snow cone syrup today! The only limit is your imagination, and soon, you’ll be indulging in the coolest, most delicious snow cones around.
And remember, it’s not just about the syrup—it’s about the experience. So gather your loved ones, serve up some homemade snow cones, and enjoy the sweet taste of summer all year round!
What flavor are you going to try first? Tell us in the comments below, and don’t hesitate to add anything else! to share any of your snow cone syrup creations with us. Happy snow cone making!

